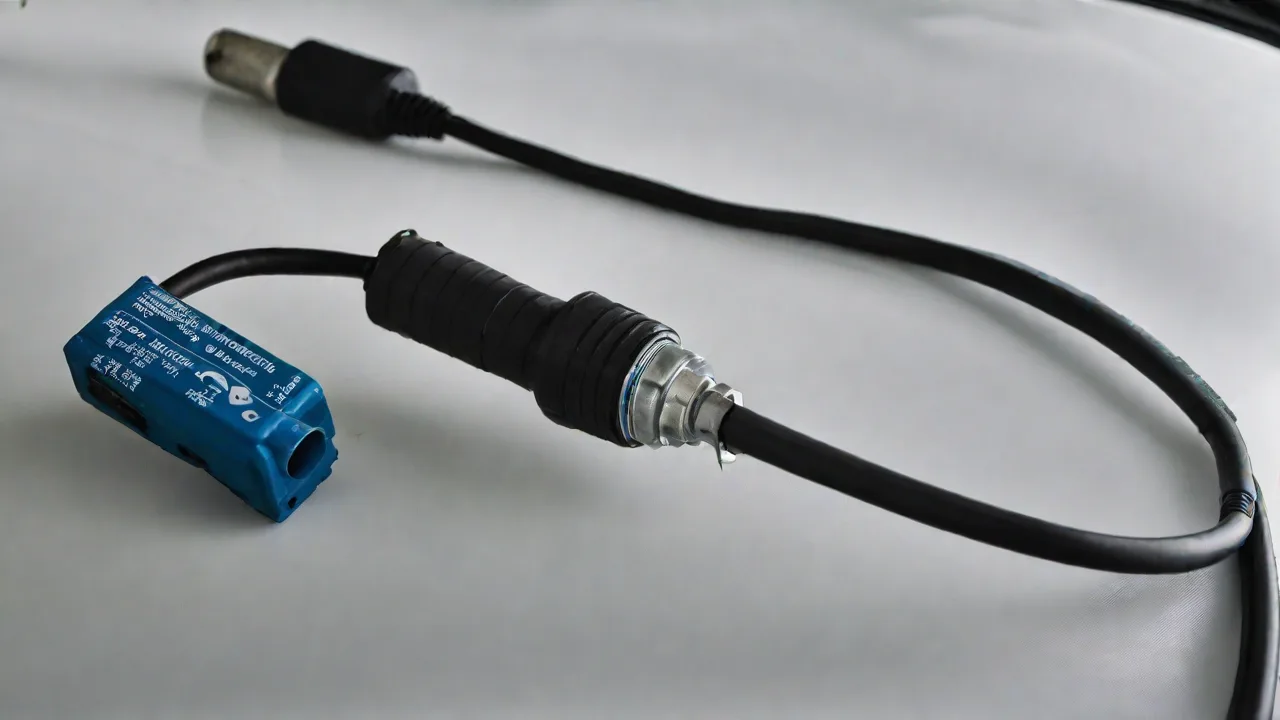
The Complete Manual for Replacing the Ac Thermistor in a Dodge Charger
Replacing the AC thermistor in a Dodge Charger is an essential maintenance task that can improve your vehicle's air conditioning performance. The thermistor helps regulate the cooling system by sensing temperature and sending signals to the AC control module. Over time, it may fail, leading to issues like inconsistent cooling or system errors. This manual provides step-by-step instructions to help you replace the AC thermistor safely and effectively.
Tools and Materials Needed
- Replacement AC thermistor
- Screwdrivers (Phillips and flat-head)
- Socket set
- Plastic trim removal tools
- Gloves and safety glasses
- Owner's manual for reference
Preparation Steps
Before beginning the replacement, ensure your vehicle is parked on a flat surface. Turn off the engine and disconnect the negative terminal of the battery to prevent electrical shorts. Wear gloves and safety glasses for protection. Gather all tools and the new thermistor, and consult your Dodge Charger’s manual for specific details related to your model year.
Accessing the AC Thermistor
The AC thermistor is typically located near the evaporator or inside the HVAC housing. To access it:
- Remove the dashboard panel or glove box if necessary, using screwdrivers and trim removal tools.
- Locate the HVAC unit, usually behind the dashboard on the passenger side.
- Identify the thermistor, which is a small sensor with wiring connected to the control module.
Note:
Refer to your vehicle’s manual for exact location details, as placement can vary between models.
Removing the Old Thermistor
Once you have access to the thermistor:
- Disconnect the wiring connector by gently pressing the release tab and pulling it off.
- Remove any screws or clips holding the thermistor in place.
- Carefully pull out the thermistor from its socket.
Installing the New Thermistor
To install the new thermistor:
- Insert the new thermistor into the socket, ensuring it’s seated properly.
- Secure it with screws or clips as needed.
- Reconnect the wiring connector until it clicks into place.
Reassembling and Testing
After installing the new thermistor:
- Reinstall any dashboard panels or glove box removed earlier.
- Reconnect the negative terminal of the battery.
- Start the engine and turn on the AC system.
- Check for proper operation and ensure the system cools effectively without error messages.
Final Tips and Troubleshooting
If the AC system still exhibits issues after replacement:
- Verify all electrical connections are secure.
- Check for blown fuses related to the HVAC system.
- Consult a professional if problems persist or if you are unsure about any steps.
Replacing the AC thermistor in your Dodge Charger can be a straightforward task with the right tools and patience. Regular maintenance ensures your vehicle’s air conditioning system remains efficient and reliable.