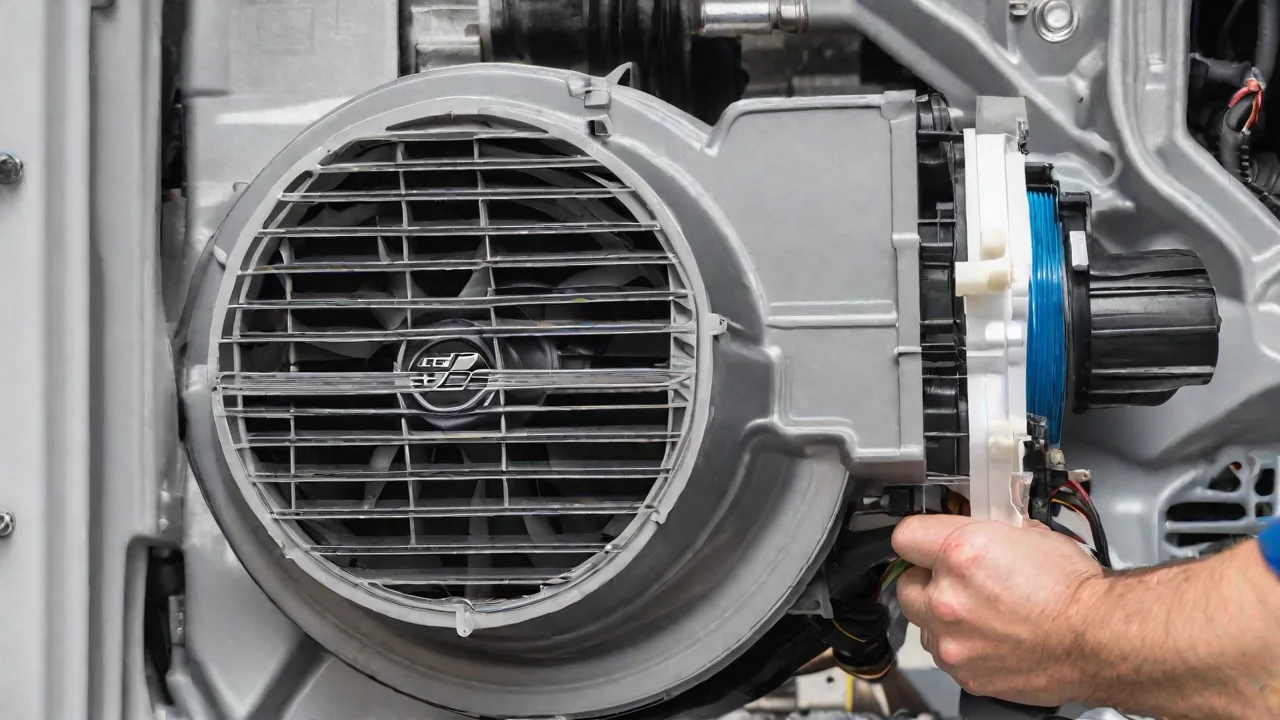
DIY Guide to Replacing the Ac Condenser Fan Motor in Hyundai Tucson
Replacing the AC condenser fan motor in your Hyundai Tucson can improve your vehicle's cooling efficiency and prevent overheating issues. This DIY guide provides step-by-step instructions to help you safely and effectively complete the replacement.
Tools and Materials Needed
- New AC condenser fan motor
- Screwdrivers (Phillips and flat-head)
- Socket set and ratchet
- Pliers
- Drain pan
- Safety gloves and goggles
- Vehicle jack and jack stands
Preparation Steps
Ensure the vehicle is parked on a flat surface. Turn off the engine and disconnect the negative battery cable to prevent electrical shocks. Use a vehicle jack to lift the front of the Tucson and secure it with jack stands for safety.
Removing the Old Fan Motor
Locate the AC condenser at the front of the vehicle, near the radiator. Remove any covers or shields blocking access. Disconnect the electrical connector from the fan motor. Using the appropriate socket, remove the mounting bolts holding the fan motor in place. Carefully lift out the old motor.
Installing the New Fan Motor
Position the new fan motor into the mounting bracket. Secure it with the bolts you previously removed, tightening them firmly. Reconnect the electrical connector, ensuring it clicks into place. Replace any covers or shields you removed earlier.
Final Checks and Testing
Reconnect the negative battery cable. Start the engine and turn on the air conditioning system. Observe the new fan motor to ensure it operates smoothly and quietly. Check for any leaks or loose connections. If everything functions properly, lower the vehicle from the jack stands.
Safety Tips
- Always wear safety gloves and goggles during the repair.
- Ensure the engine is cool before starting work.
- Work in a well-ventilated area.
- If unsure about any step, consult a professional mechanic.
By following these steps, you can successfully replace the AC condenser fan motor in your Hyundai Tucson, saving money and gaining valuable maintenance skills.